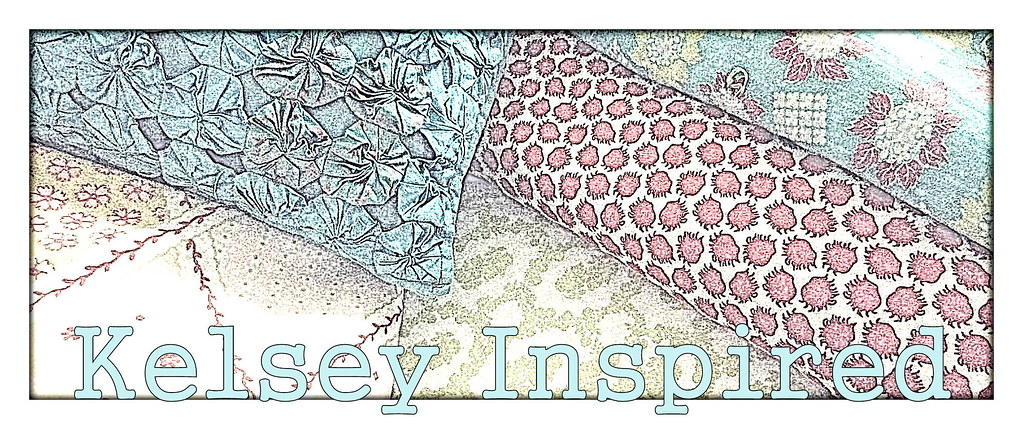
This is an example of how I would make a blog header.
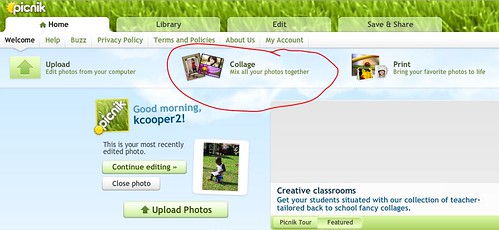
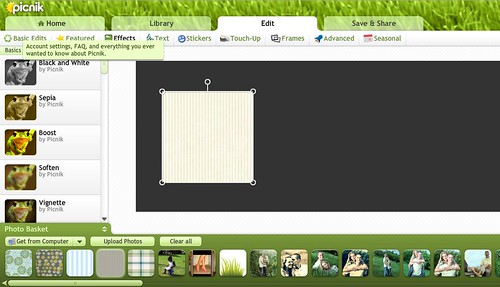
Start by selecting collage on the main page.
 |
In the bottom right corner it says the dimensions... around 1000x400 is a great size for a blog header. Adjust the proportion to change the dimensions.
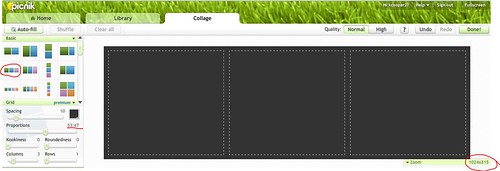
Click 'Done' and now you are ready to add pictures from the 'Photo Basket'
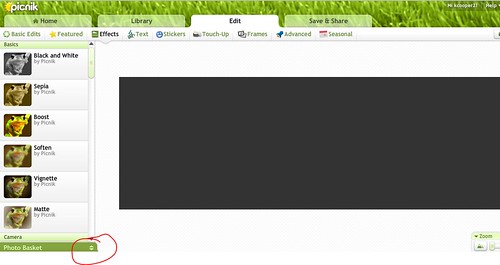
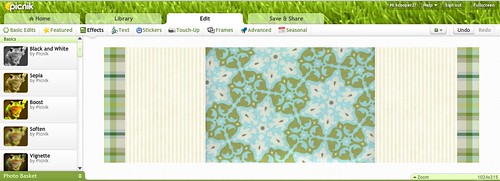
I start by adding the background images... scrapbook paper, fabrics, or patterns I have created from colourlovers.com
I used a muted green and blue color scheme and added the plaid to get a bit of a fall look.
By right clicking on the images you can change the order in which they are layered.
For instance the plaid is much larger than what is shown here, but it is layered behind the stripes. I right clicked and said 'send to back'
Next I added the images of Lee and I that I wanted to use.
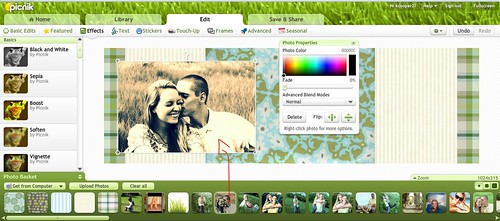
Once you have all the images in place how you want, now is a good time to save it. Saving it before you added text or stickers allows the layers to be secured so you don't accidentally drag a photo when you meant to drag the text (trust me it can get frustrating when you're dealing with lots of layers & as of yet Picnik doesn't have a grouping feature to lock in the layers).
It also allows you to go back later and add different text or stickers to the collage if you decide you want something different.
Once it is saved upload it to Picnik and open it as you would any other picture to be edited.
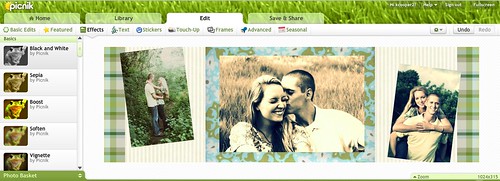
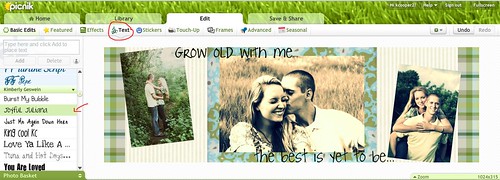
Next add text if you want to. This is from one of my favorite songs...
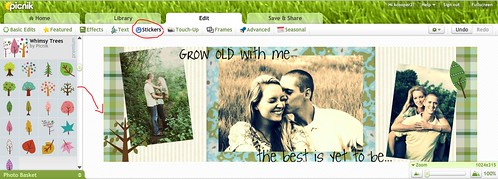
I added a few 'whimsy trees' to my collage since it is fall after all.
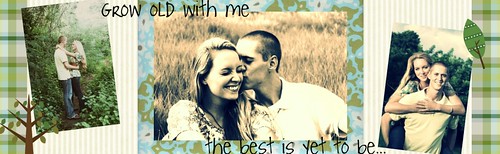
And you're done!
Today I signed up with Picket Fence Blogs! and I realized that my blog button was super tiny... but hopefully that's fixed now! Both are on the sidebars... let me know if you have any feedback for me.
Have you been picnik'ing anything fun??

6 comments:
I've never heard of that program before, but you've made it look quite easy to do! Might have to check it out :)
(stopping over from comment love day - hope you've had a good weekend!)
I didn't know you could layer using Picnik collage. I've been fiddling with my blog header (made on Picnik) and was hoping there was a way to do this, so Thanks! Also, you and your hubby are adorable. Visiting from FTLOB.
Such a cute idea. I have been needing to make a blog header, but am kind of inept when it comes to craft internet stuff like that. You and your husband look great together by the way! Found you on FTLOB!
I use Picnik all the time and did not know this. Thanks. How cute is that?
Stopping by from FTLOB. Hope you are having a great Sunday.
Lala
http://esmerlala30.blogspot.com/
oh i LOOOVE picnik! i use it daily!
PS: There is a way to combine all the layers so you don't accidentally move them around. Up next to the "undo/redo" buttons there is a little button with a gear on it. If you click on that it gives you the option to "combine everything" which makes everything already on the board into one image and therefore keeps you from moving something accidentally! Then you can just keep adding pictures/text/stickers as you please!
Happy Picniking!! :)
beautiful!! I love the quote!!
Post a Comment