Showing posts with label paper. Show all posts

Sunday, May 15, 2011

Art class with kids: recycling art

At the Montessori School this week we made shadowboxes out of cereal boxes and magazine scraps.
I had so much fun making my demonstration box that I want to keep it!
only problem is, like I've mentioned I live in 300sq feet and it is filling up with "art projects" :/


IMG_4216


What you do is cut a square out of the front of a cereal box to make the frame for your shadow box.
Then on the piece of cardboard that you cut out you start gluing magazine scraps to make a scene. I think it looks better when some of the pieces stick out to make it look 3D, like the grass.
An underwater scene would be awesome don't you think?
and it's a free, recyclable craft you can do with your kids :)


Keeping It Simple

Saturday, May 14, 2011

Decorating with paper #2

I've already written this post once before. and then  blogger decided to stop working for an entire 24 hours. 
Did that happen to yours??
anyway.

I love magazines more than your average girl. At my parents house I have magazines that span 4 decades.  I can't get rid of them.  I am obsessed.
Lately I have found the courage to chop up a few... granted they are Grenada travel magazine, but still.

Here is one version of a magazine basket.

Step 1.
Cut magazine pages into about 2 inch strips. (I chose pages that were mostly white to make a white basket, but you can use any pages)  Fold in half and open back up.  Fold each side into the middle and then refold in half so you will have 4 layers instead of only two.  This makes the strips stronger. Secure with glue (I used a glue stick)
P5102862

Step 2. 
Start with one strip and roll into a spiral, securing with glue.  Continue overlapping the strips until you have a circle the size you want the base of your bowl to be. (you could also end with this step and have coasters!)
P5102861


Step 3.
Your next strip will start slightly above the others to begin building the sides of the bowl. Continue overlapping the strips while moving slightly upwards to build the sides of the bowl.  End when you feel like it is tall enough!
P5102864

Step 4. 
This isn't necessary but I added a little bow and handle for decoration :)
P5102863


The Best Part Of Believe

Saturday, March 19, 2011

decorating with paper #1

I love paper.
I may need to come up with a new word because I "love" way way way too many things it seems. what I really love is -Jesus, my husband, my family, my friends, and this beautiful earth we are so blessed to enjoy and explore.

now that my priorities are in line.... I do really fancy paper.
mostly printed paper.
magazines, books, newspaper... 
the possibilities are endless!

here is one way to get creative with paper.
paper roses.
they are so beautiful and so easy!
here's how:
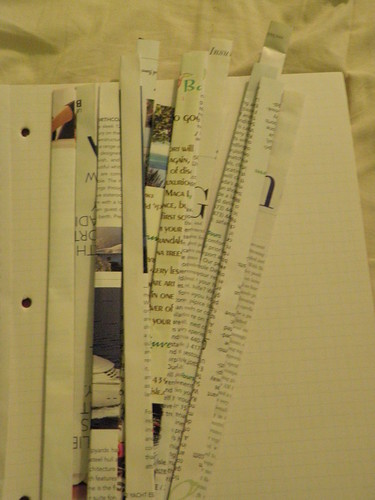
cut a sheet of paper (I used magazine) in a spiral. as long as you want.
if you want you can draw a spiral out on the paper before cutting, but it's not necessary. 
I'm an on the fly kinda girl, I do things my way and not very instructional.
don't worry about making it perfectly straight or even, it will add character to the rose.


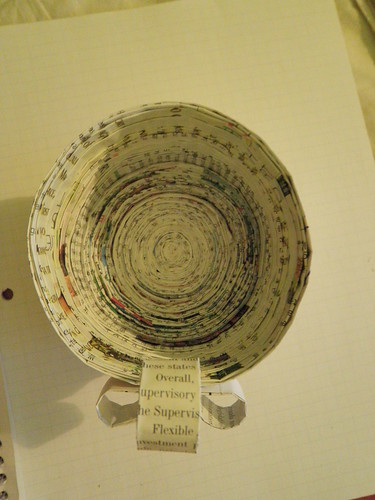
then start rolling up the paper keeping the bottom tight and allowing the top to kind of fan out. 
add a dab of glue (I used a glue stick) as you go to keep if from unraveling

once it's all rolled up it should look like a rose!  be careful not too roll it too tight, keep it organic and whimsical :)
wha-la!


I want to make a ton and do something similar to this.


I have SO many other paper projects I've done that I want to share, but I have to pace myself.... right?

I linked up with craftjunkietoo, Crystal's Craft Spot, and


Related Posts Plugin for WordPress, Blogger...