Well like all other breathing 25 year olds the majority of my inspiration comes from pinterest these days.
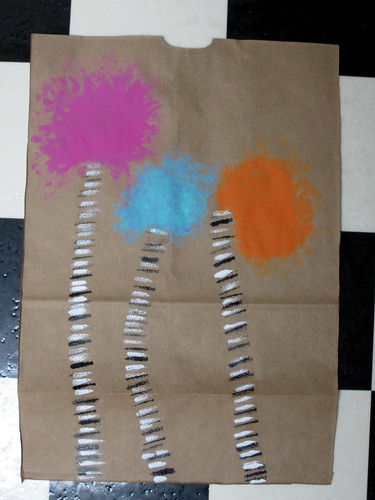
I found a DIY art project I wanted to try

I had a painting under my bed for at least 10 years (no joke) that I picked up at a yard sale and had always intended to re-purpose. I liked it because it was large, and have a good frame so I could easy re-cover it with canvas and paint a new picture or something.
Well flash forward a decade and I saw this and remembered my sad, forgotten painting. And then I breathed new life into it and it proudly hangs above our bed.
This is SUPER easy to do.
promise.
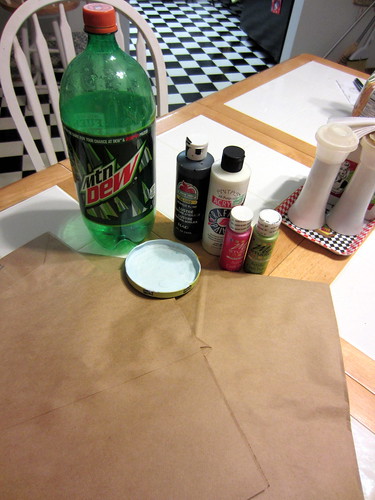
All you need is:
- a painting or some type of picture with colors that you like
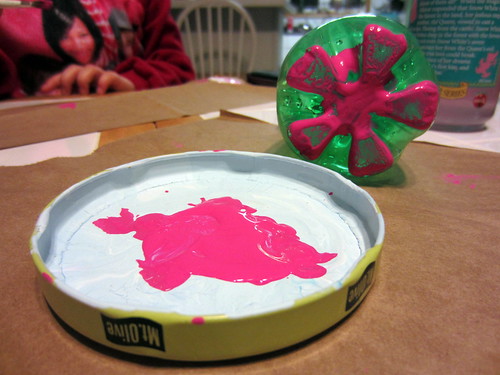
- paint - I used cheapo white acrylic paint from Hobby Lobby for $1 and then added a little paint thinner because I wanted some of the original artwork to show through
- letter stickers - I bought some on clearance at Jo-Anns
- a paint brush
- time
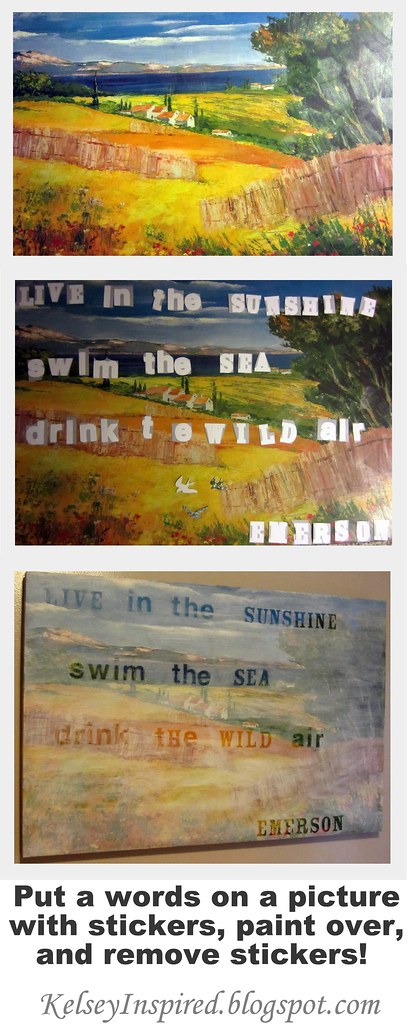

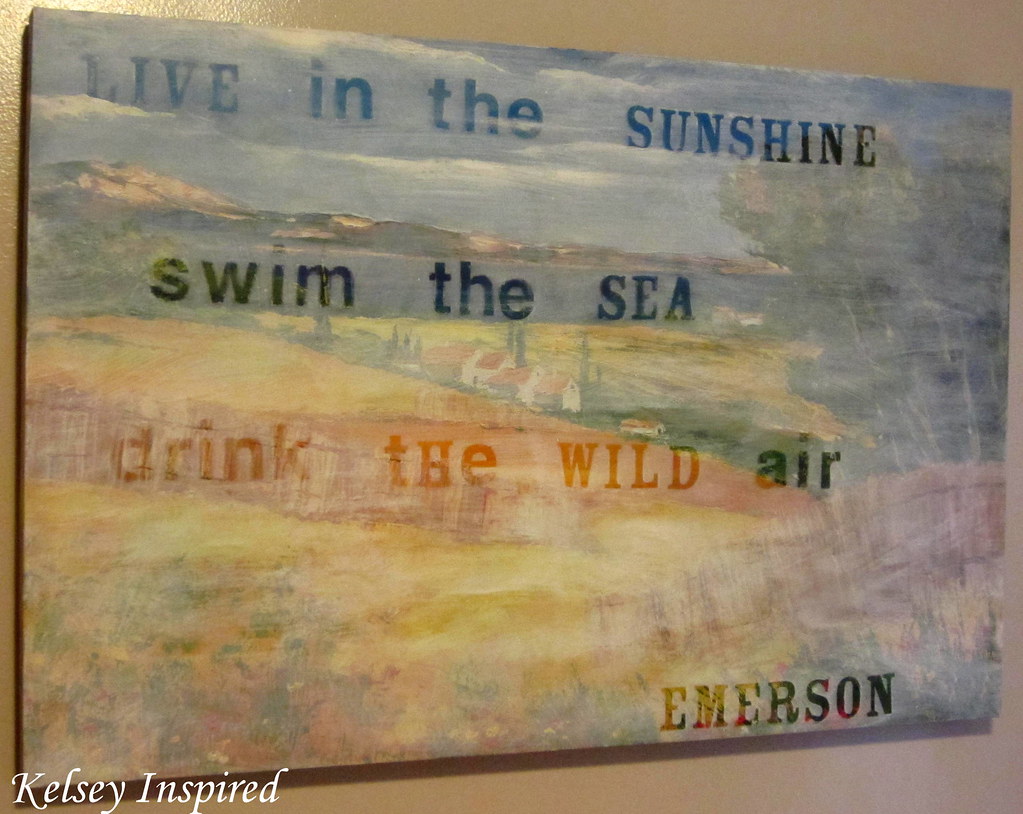


I love how Emerson turned out. The colors are perfect behind the words.
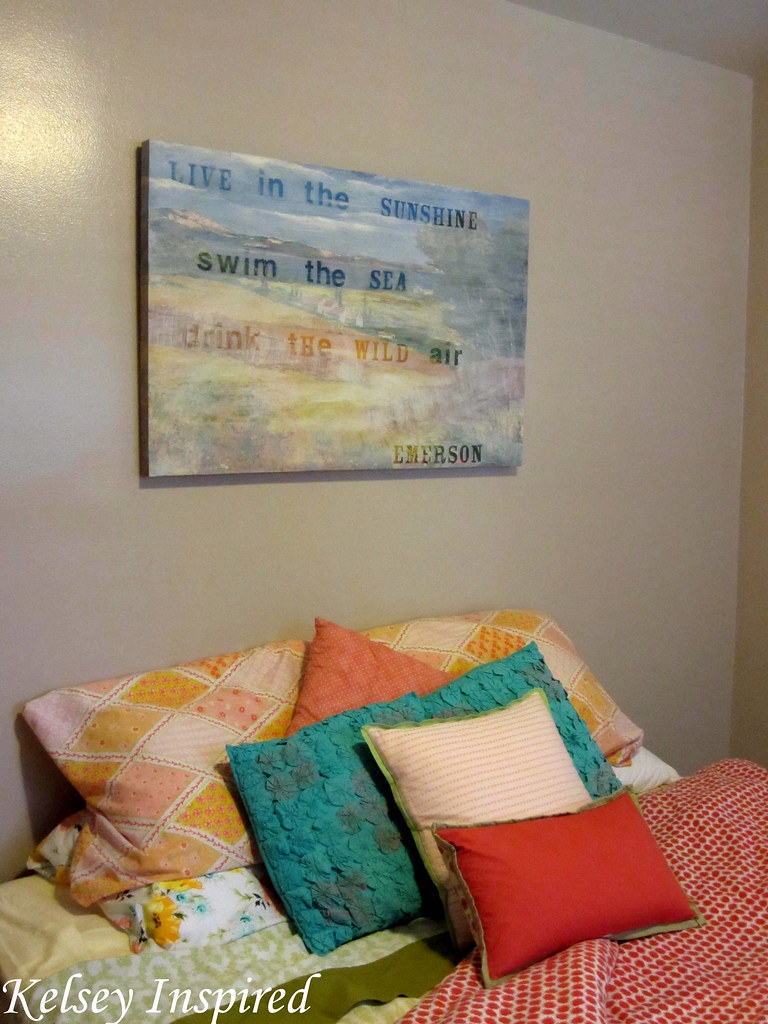

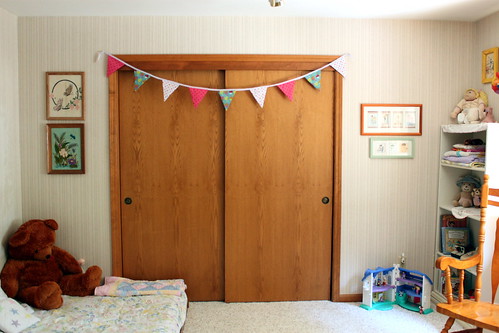
the bedroom isn't finished as of yet.... just this lone painting hangs on the wall.
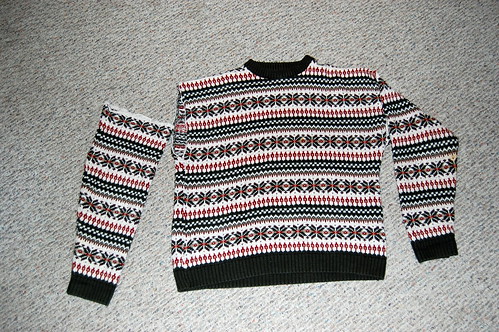
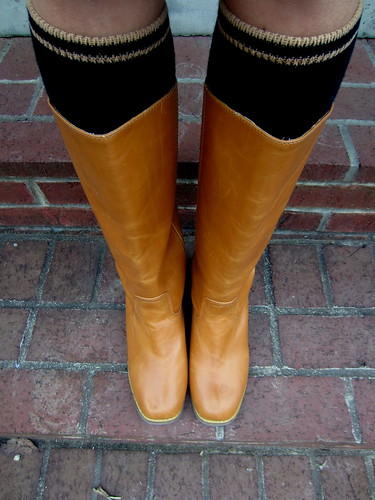
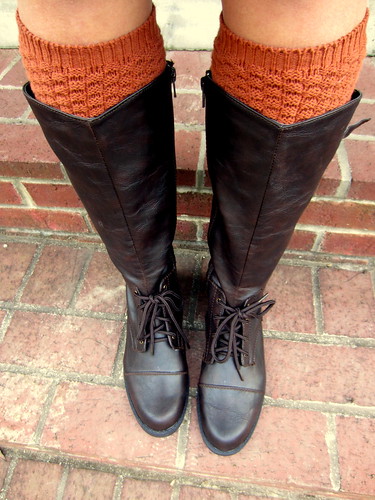
my husband said "do all these patterns go together"
ummm not exactly. and I like it that way.