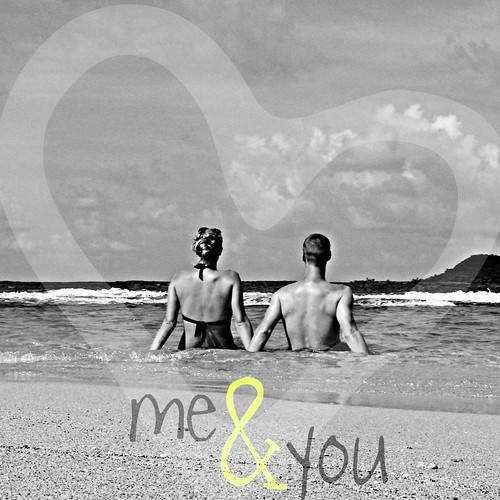
I got a few questions about my picnik'd photos so I thought I'd share how I made this picture:
and next week I'll share another.
Start:
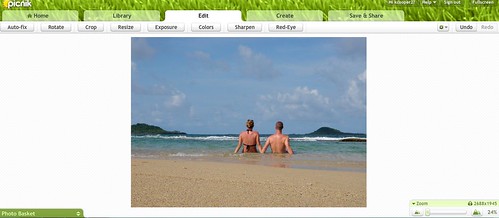
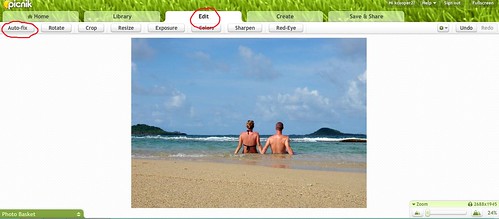
Edit - Autofix: I autofix everything! sometimes it makes an amazing difference & sometimes it makes it worse, that's what the undo button is for.
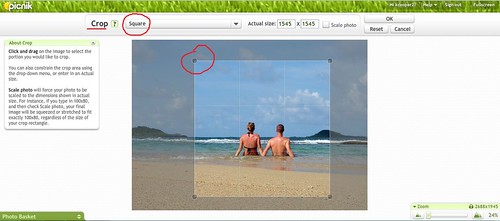
Crop: I used the square, but you can do whatever you want
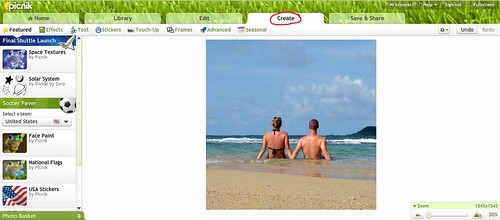
Click Create:
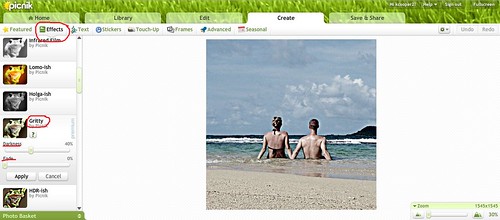
Click Effects - then I chose the Gritty setting:
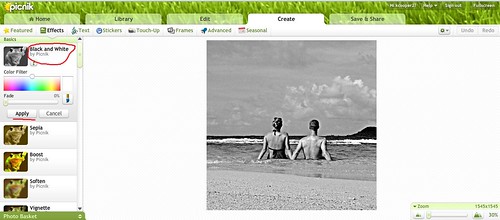
Then I chose to make it black and white:
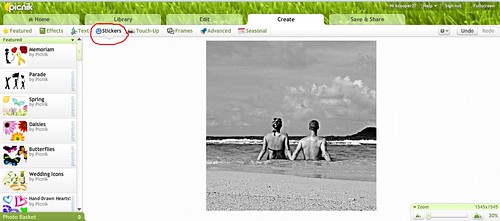
Click Stickers:
I chose hand drawn hearts:
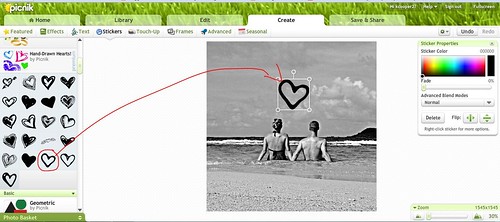
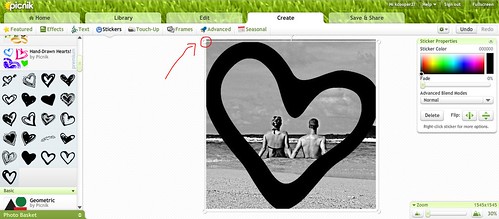
Stretch the heart to the size you want:
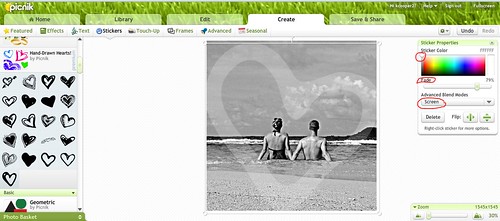
I then adjusted the color to white, the mode to screen, and then faded it:
Then click text - I wrote me in joyful juliana:
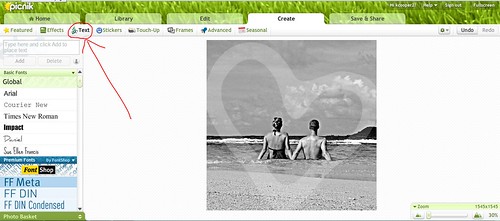
text - & in robot teacher:
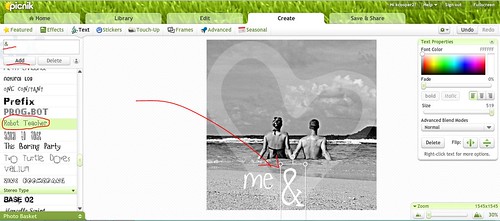
text - you in joyful juliana:
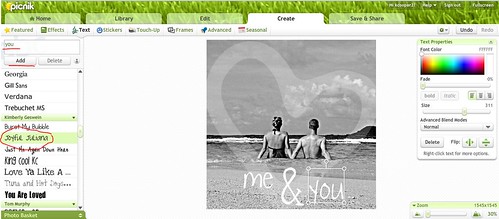
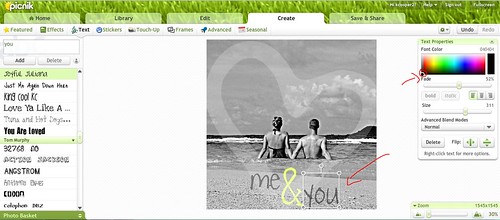
Adjust the color of the "&" to the yellow, and chose the overlay mode:

Adjust the color of the Me & You to a dark grey and fade:
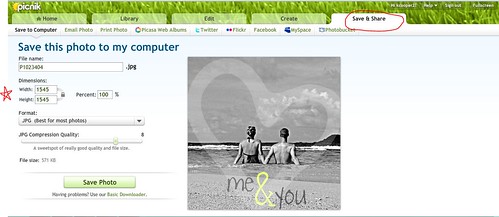
Click Save - and here you can adjust the size so if you were making a blog header & you know your blog width is 1000 you can adjust your photo to fit!
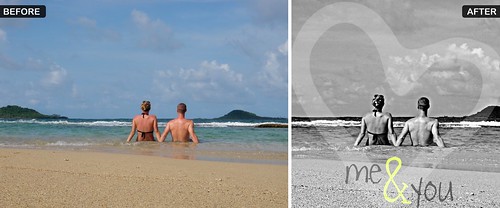
Do you have any photos you've picnik'd that you'd like to share??
What if I did a weekly picnik link up, would you participate??


8 comments:
I love Picnik. Maybe I'll upgrade it for myself for my birthday. :-)
Oh, and your picture is fantastic! I love it!
Great job on the photo. I LOVE PICNIK!!!
It's so fun!
Just found your blog through some blog hop thingy... ha ha...it is adorable and so are you!
xx
Just stumbled across your blog, and I'm so glad I did! I use Picnik but have never been this creative with it - so thanks for sharing! I'm in need of your tips and will definitely be putting them to use :)
Love Picnik!!! :) So cute! <3
Very cool. I may need to look into this Picnik thing.
I love this post, Kels! I would love for you to start a linky party for Picnik! Would it look like this post or just posting before and after pictures of picniked pictures? I really need to get the full version!
I don't really understand what a link up is, but I'll definitely Picnik!
Post a Comment