
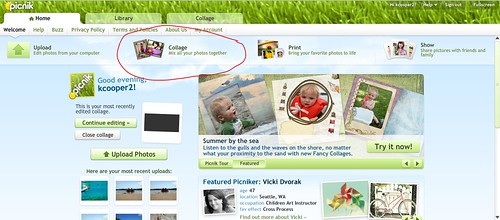
This week I'm going to show you a collage I made in a few simple steps
1. Choose collage from the top of the main Picnik page.
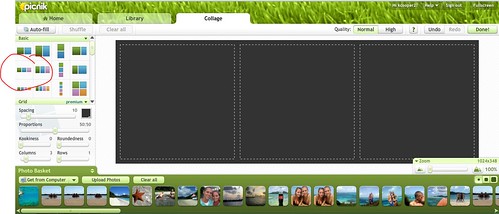
2. Choose the collage layout. I chose a 3 square format
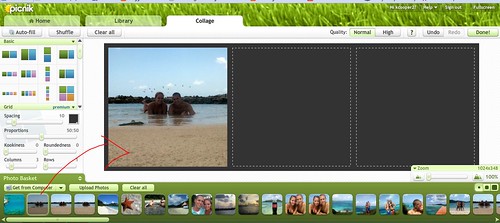
3. Drag and drop the pictures you want to use from the bottom of the screen.
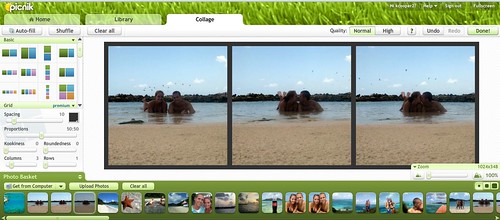
4. Continue dragging the pictures until the squares are filled.
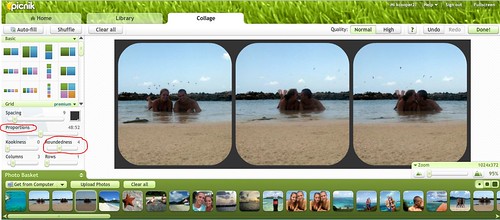
5. Adjust the proportions and roundness of the squares if you wish. I wanted a more rounded look.
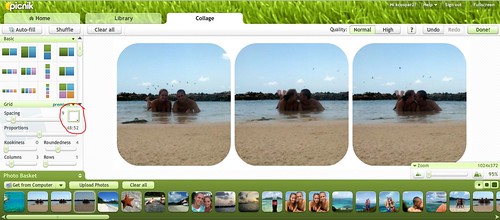
6. Change the background color if you wish. I chose white knowing the effect I would do later would add a patina to it.
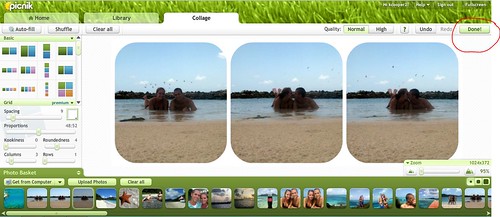
7. Click DONE!
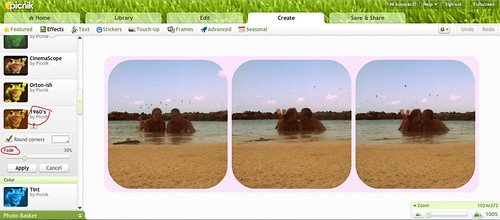
8. Click effects
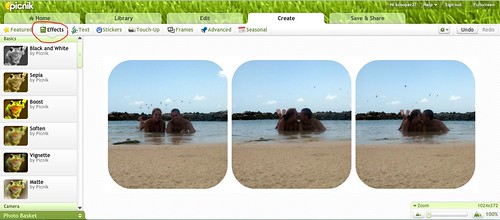
9. I chose the 1960s effect because I think it feels really beachy and I love all things vintage. You can adjust the intensity of the effect by fadding it out. I faded it quite a bit.
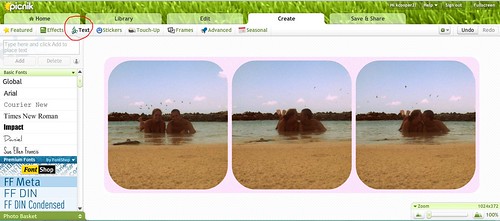
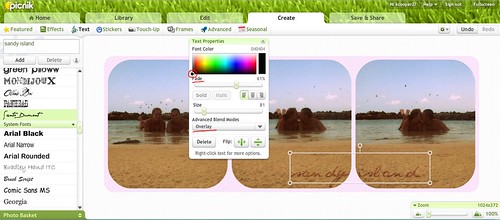
10. Click text.
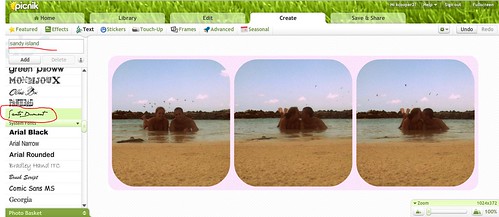
11. I chose the Santo Dumant (?) font and typed the words "sandy island" because that's where we were :)
12. You can adjust the size and position on the photo
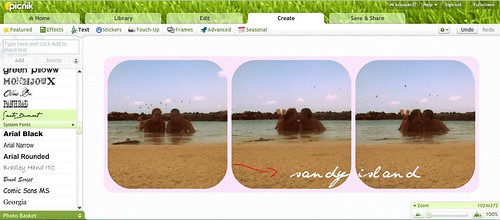
13. Then I adjusted the color to black, the blend mode to overlay, and then faded it out to kinda resemble sand.
14. Final product!


1 comment:
Kelsey, thanks for stopping by my blog and leaving a comment!
I've just recently discovered picnik... awesome! Love your tutorials.
Sorry I'm posting as anonymous... I'm having issues with blogger letting me post comments any other way for some reason.
Babblin' Brooke
http://babblin-brooke.com
Post a Comment